Creating a request via Webform
To create a help request via the webform, follow these steps:
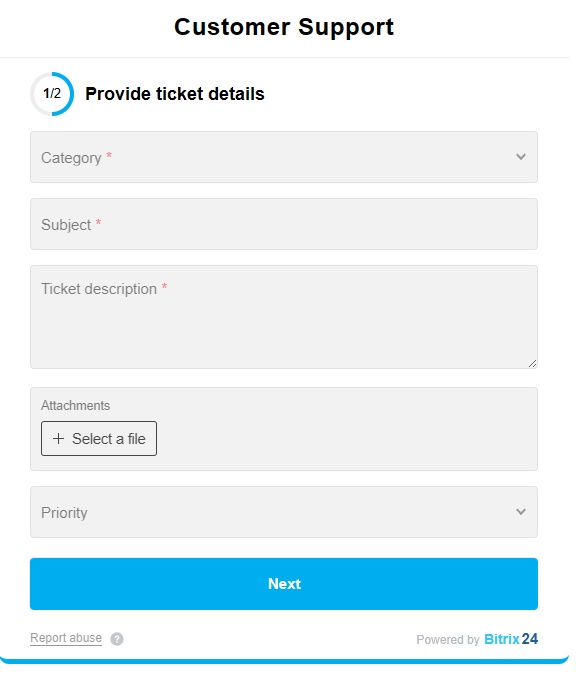
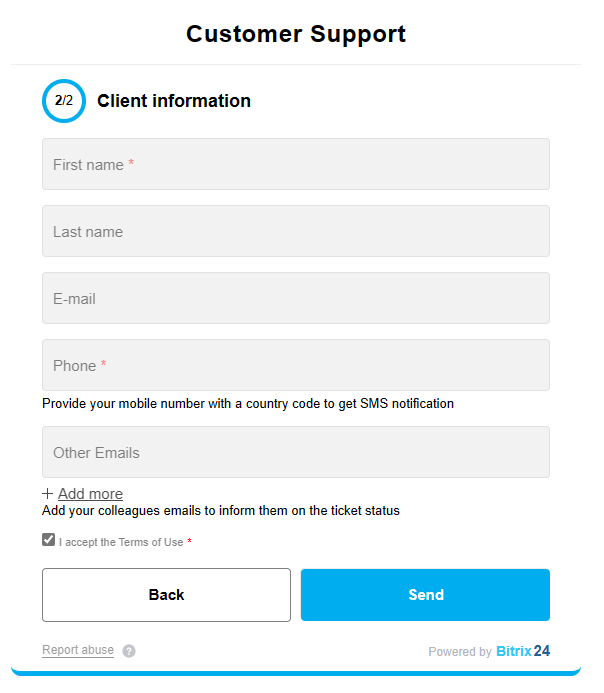
1. Access the unique webform link or code provided by the Webbee team. This link or code is specific to your portal and will be given to you during installation.
2. Open the webform and you will see two pages with fields that need to be filled out. The layout is designed to cover the most common scenario of a customer care process.
3. On the first page of the webform, you will find fields marked with a red asterisk symbol (*). These fields are mandatory and must be filled in by the client. Make sure to provide the required information in these fields.


4. On the second page of the webform, you will find additional fields where clients can provide optional information. These fields are not specifically marked and can be left empty if not applicable.
5. Once all the required information is filled in, click on the submit button to send the help request.
6. The submitted request will then arrive in the Helpdesk pipeline with a status of "New Request". This will trigger a cascade of related automation, as described in the "Pipeline Status New Request" section.
Remember, if you have any questions or need further assistance, you can reach out to the Webbee team
https://forms.webbee.co.nz/customer_care/ for support during the installation process.
Creating a request manually
To manually create a help request in the Customer Care/Helpdesk pipeline, follow these steps:
1. Navigate to the pipeline in the Bitrix24 CRM system.
2. Click on the "Create" button to start creating a new request card.
3. Fill in as many fields as possible to provide detailed information about the request. However, please note that the following fields are mandatory and cannot be left empty:
- Name: This field represents the subject of the request.
- Category: Select the appropriate category that best describes the nature of the request.
- Request: Provide a description of the request in this field.
- Client: Select the client record from the database. If the client is not found, you can create a new client record right away.
4. Once you have filled in all the required fields, click on the "Save" button to save the request card.
5. The saved request card will then appear in the Helpdesk pipeline with a status of "New Request". This will trigger a cascade of related automation, as described in the "Pipeline Status New Request" section.
Remember, it is important to provide as much information as possible when manually creating a request to ensure efficient handling and resolution. If you have any questions or need further assistance, feel free to reach out to your team members or the Webbee team for support.
Pipeline status “New Request”
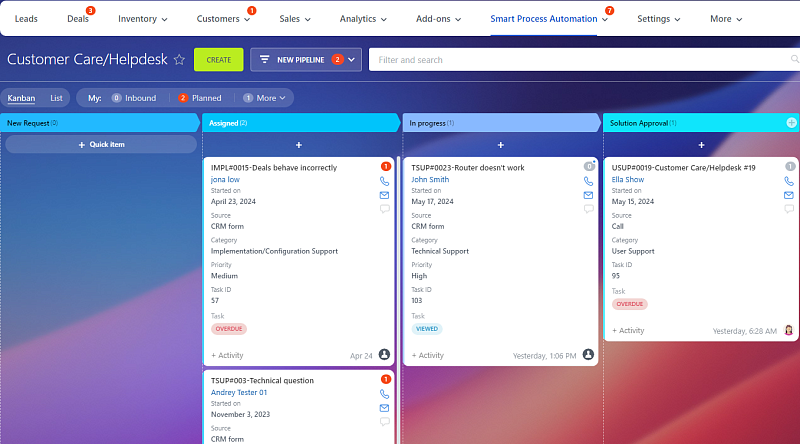
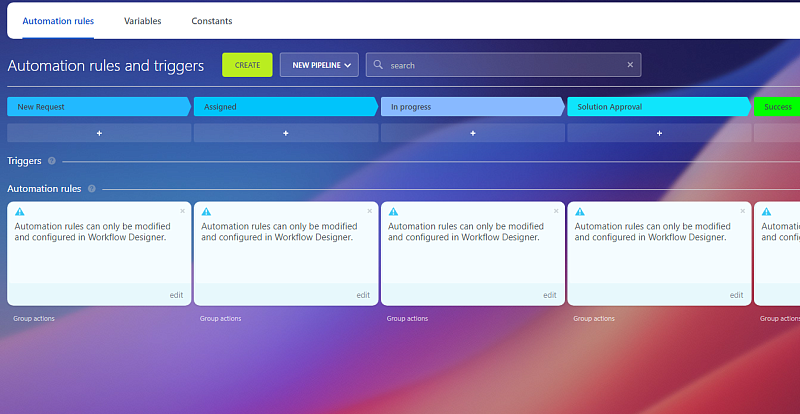
When a request card appears under the "New Request" status in the Customer Care/Helpdesk pipeline, the following cascade of automation rules will be triggered:
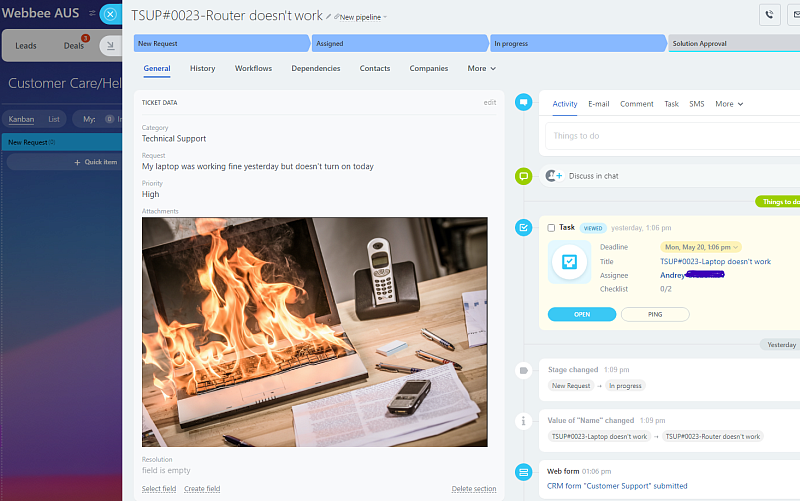
1. The subject of the request card will be updated to reflect its category, system ID, and a short reason. For example: [Category] - [System ID] - [Short Reason].

2. A responsible person (Department Representative) will be automatically assigned to the card based on the category of the request. It is important to note that the logical correlation between assignees and request categories must be pre-configured during the pipeline installation.
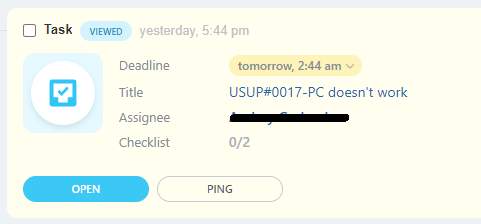
3. A system task will be created for the assigned Representative, notifying them of the new request.

4. An automated email containing the request summary will be sent to the client who submitted the request.

5. A system notification with the request summary will be sent to the assigned Representative.

6. An automated email with the request summary will also be sent to the assigned Representative.
These six actions will occur instantly once the automation is triggered.
After the automation is triggered and the request is assigned to a Representative, the Representative must complete the given task by following these steps:
1. Review the request card and fill in any missing information or logical gaps that may prevent them from starting the request.
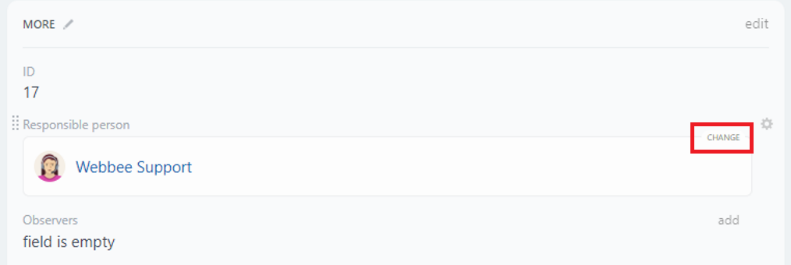
2. Assign an Engineer to the request, taking into consideration their availability and the specifics of the request. To assign an Engineer, select their user in the "Responsible person" field.

3. Once all the necessary details are saved in the corresponding fields of the request card and an Engineer is assigned, the Representative must move the task to the "Assigned" status by pressing the "Finish" button in the task card.
It is important to note that the "New Request" status has a chain of control automation:
1. If the request card remains in the "New Request" status for 4 hours, the Representative's Supervisor will receive a system notification.
2. If the request card remains in the "New Request" status for an additional 4 hours, the Representative's Supervisor will receive a second system notification.
3. If the request card remains in the "New Request" status for another 8 hours, the Representative's Supervisor will receive the third and final system notification.
Please keep in mind that if a request card is moved to a different status before any of the scheduled automation rules are applied, all the scheduled rules for the "New Request" status will be automatically canceled. Instead, the automation rules of the new status will be scheduled.
Pipeline status “Assigned”
When a request card progresses to the "Assigned" status in the Customer Care/Helpdesk pipeline, the system will automatically perform three actions:
1. An automated email with the request summary will be sent to the client who submitted the request.
2. A system notification with the request summary will be sent to the assigned Engineer.
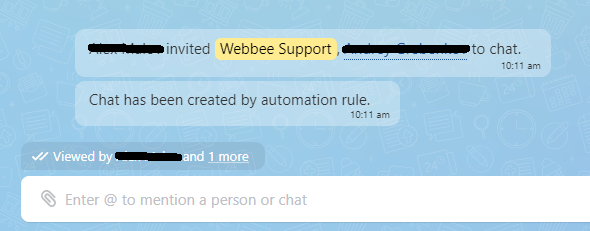
3. An internal chat will be created for the assigned Engineer, the Engineer's Supervisor, and any users added to the "Observer" field. This chat will appear in the participants' Messenger, allowing them to discuss matters related to the request, invite other participants, and coordinate efforts.

After the automation is triggered, the assigned Engineer must accept the responsibility for the assigned request and take action. Once ready, the Engineer should review the request card and manually move it to the "In Progress" status.
It is important to note that the "Assigned" status has a chain of control automation:
1. If the request card remains in the "Assigned" status for 4 hours, the Engineer's Supervisor will receive a system notification.
2. If the request card remains in the "Assigned" status for an additional 4 hours, the Engineer's Supervisor will receive a second system notification.
3. If the request card remains in the "Assigned" status for another 8 hours, the Engineer's Supervisor will receive the third and final system notification.
These notifications serve as reminders to ensure timely progress on the assigned request.
Please ensure that the assigned Engineer takes appropriate action and moves the request card to the "In Progress" status within the specified timeframes to avoid unnecessary delays.
Pipeline status “In Progress”
When an Engineer progresses the request card to the "In Progress" status in the Customer Care/Helpdesk pipeline, the system will automatically perform two actions:
1. An automated email with the request summary will be sent to the client who submitted the request.
2. A system notification with the request summary will be sent to the assigned Engineer.
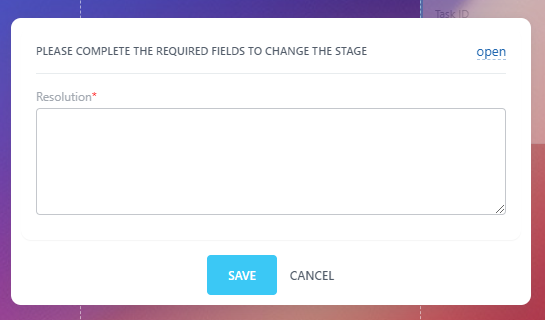
After the automation is triggered, the assigned Engineer must take necessary actions to resolve the assigned request. Once the resolution is ready, the Engineer should fill in the "Resolution" field and move the request card to either the "Solution Approval" status (if the solution requires internal approval) or the "Success" status.
If the Engineer attempts to move the request card to either the "Solution Approval" or "Success" status without filling in the "Resolution" field, the system will prevent this action and prompt a dialogue window where the Engineer must enter the text for the "Resolution" field. If the action is canceled by pressing the "Cancel" button, the request card will return to its original status.

It is important to note that the "In Progress" status has a chain of control automation:
1. If the request card remains in the "In Progress" status for 4 hours, the Engineer's Supervisor will receive a system notification.
2. If the request card remains in the "In Progress" status for an additional 4 hours, the Engineer's Supervisor will receive a second system notification.
3. If the request card remains in the "In Progress" status for another 8 hours, the Engineer's Supervisor will receive the third and final system notification.
These notifications serve as reminders to ensure timely progress on the assigned request.
Please ensure that the assigned Engineer takes appropriate actions, fills in the "Resolution" field, and moves the request card to the appropriate status within the specified timeframes to maintain efficient workflow.
Pipeline status “Solution Approval”
When an Engineer progresses the request card to the "Solution Approval" status in the Customer Care/Helpdesk pipeline, the system will automatically perform two actions:
1. An automated email with the request summary will be sent to the client who submitted the request.
2. A system notification with the request summary will be sent to the Engineer's Supervisor.
After the automation is triggered, the Engineer's Supervisor must review the solved request and take one of the following actions:
1. Approve the request resolution by moving the request card to the "Success" status.
2. Challenge the resolution by communicating any problems found to the assigned Engineer. The Engineer should then take any necessary actions to reach the appropriate resolution. It is important to capture any actions taken in the request card notes or comments. Once the resolution is reached, either the Engineer or the Engineer's Supervisor should move the request card to the "Success" status.
It is important to note that the "Solution Approval" status does not have a chain of control automation. This means that there will be no delayed notifications to inform users about how long request cards have been sitting in the "Solution Approval" status. It is the responsibility of the Engineer's Supervisor to promptly review and take action on requests in this status.
Please ensure that the Engineer's Supervisor reviews the request and either approves the resolution or communicates any problems to the assigned Engineer for further action.
Pipeline status “Success”
When an Engineer or an Engineer's Supervisor progresses the request card to the "Success" status in the Customer Care/Helpdesk pipeline, the system will automatically perform two actions:
1. An automated email with the request summary will be sent to the client who submitted the request.
2. A system notification with the request summary will be sent to the Engineer and the Engineer's Supervisor.
The "Success" status represents the final status in the "Customer Care/Helpdesk" pipeline. Request cards that have reached this status are meant to be kept here for archival and reporting purposes.
Please note that you have the option to further develop and customize this pipeline to fit your specific business needs.
Pipeline status “Failed”
At any point during the lifespan of a request card, it may be canceled or marked as failed for various reasons in any industry or business field. When this occurs, it is the responsibility of the Engineer or the Engineer's Supervisor to process the request card accordingly by manually moving it to the "Failed" status.
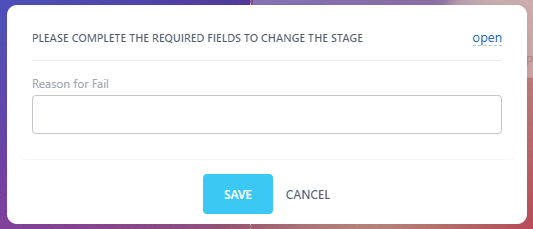
Upon moving the request card to the "Failed" status, the system will prompt the Engineer or the Engineer's Supervisor to specify the reason for the failure, if it has not been selected prior to the moving action.

Once the request card reaches the "Failed" status, a system notification with the request summary will be sent to the Engineer and the Engineer's Supervisor.
Whether a request card reaches the "Success" or "Failed" status, the request is considered closed and finalized. There are no other specific actions designed for this generic scenario. However, please note that you have the option to further develop and customize this pipeline to fit your specific business needs.
If you require assistance or have any questions on how to do so, the Webbee team will be happy to provide consultation and support. You can reach out to them at
support@webbee.co.nz or Web form
https://forms.webbee.co.nz/customer_care/.
